


What AI visual inspection covers
Aranv builds AI visual inspection for manufacturers and packers: cameras, lighting and computer vision models that check every part, assembly or label on the line for scratches, dents, missing components and print errors, send uncertain items to a human inspector and store an image record of every decision.
People inspecting by eye tire, vary between shifts and usually check a sample rather than every unit. AI visual inspection applies the same criteria to every item, flags what it finds and keeps a picture of each decision. It works best when the defect is visible under controlled light and the cost of an escape or a slow line justifies cameras.
Our computer vision development team builds these systems. When good parts are plentiful and defects rare, we start with models trained mostly on good images that flag anything unusual, then add named defect classes as examples build up. Models run on edge hardware near the line so the reject signal arrives in time.
From sampled checks by eye to every unit inspected
How a part gets inspected
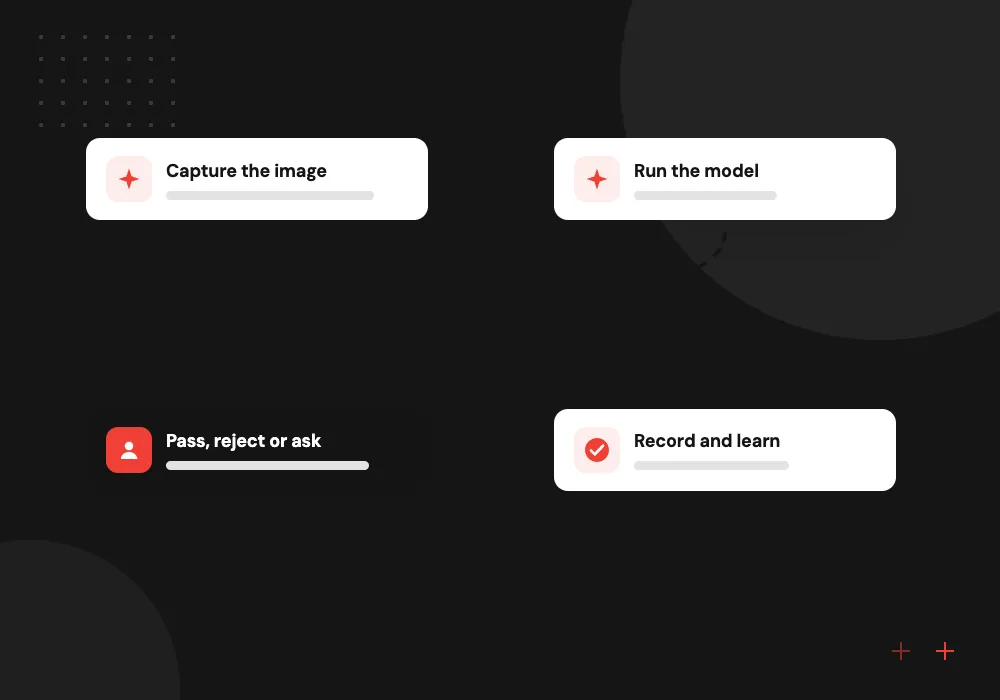
- 01 Capture the image A line sensor triggers the camera under fixed lighting as each unit passes.
- 02 Run the model An edge computer beside the line checks the image against learned defect types.
- 03 Pass, reject or ask Clear passes continue, clear defects divert, and uncertain units go to a person.
- 04 Record and learn Each image and decision is stored; reviewed cases become new training data.
Disposition, such as scrap, rework or hold, stays with your quality staff and quality system.
Inspection tasks we automate
Each one replaces a check that people already do by eye, often on a sample rather than every unit.
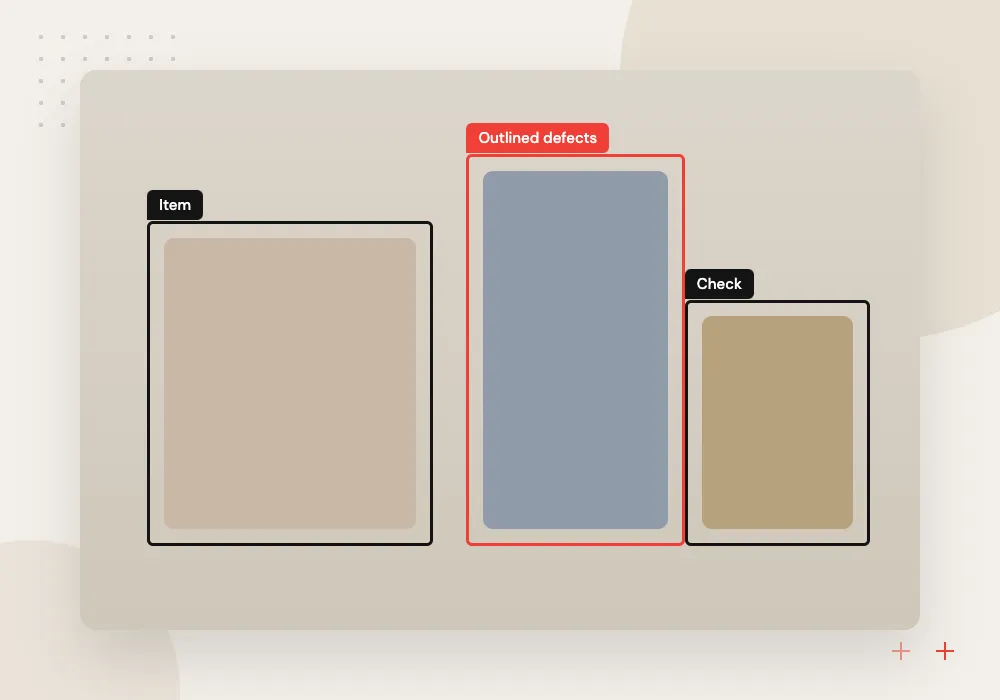
Surface defect detection
Scratches, dents, cracks, voids and stains found on parts, panels or castings from line camera images, with the defect outlined for the inspector.
Assembly and kit checks
Confirms every screw, cap, insert or accessory is present and seated correctly before the unit moves to the next station or the box is sealed.
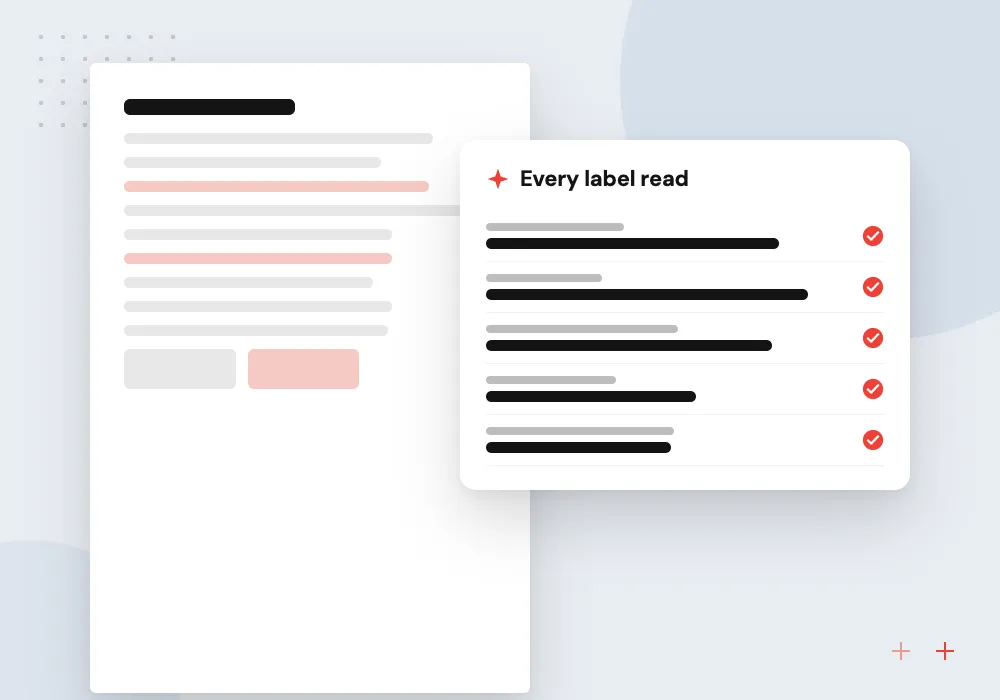
Label and print verification
Reads lot codes, expiry dates and barcodes, and checks label position and print quality against the order, catching mix-ups before shipment.
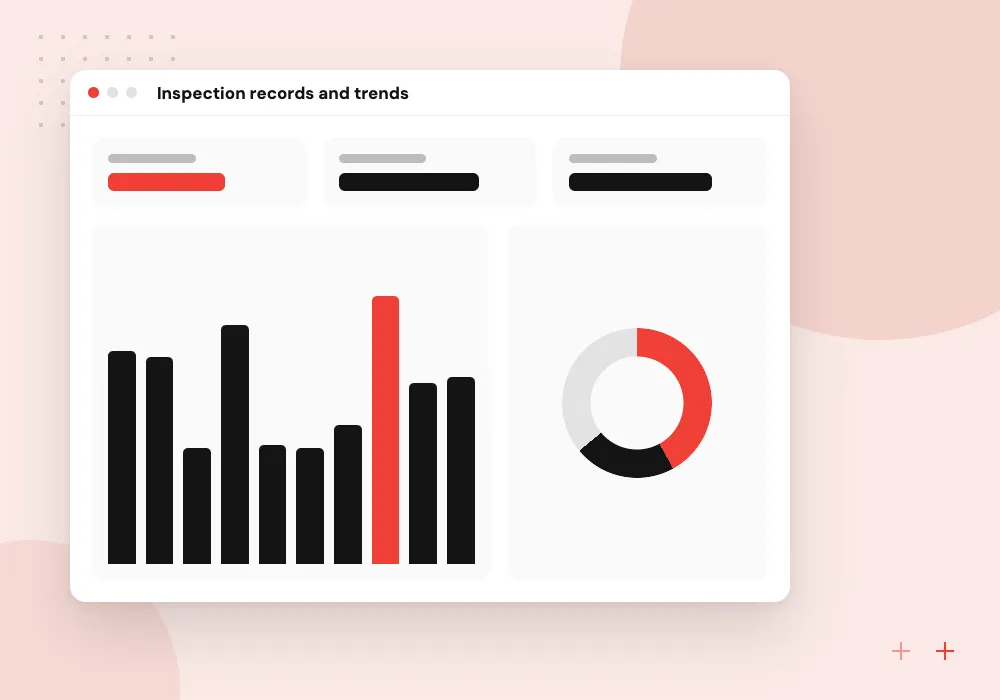
Inspection records and trends
Every decision stored with its image, so quality teams see defect rates by shift, line and supplier lot and attach evidence to a nonconformance.
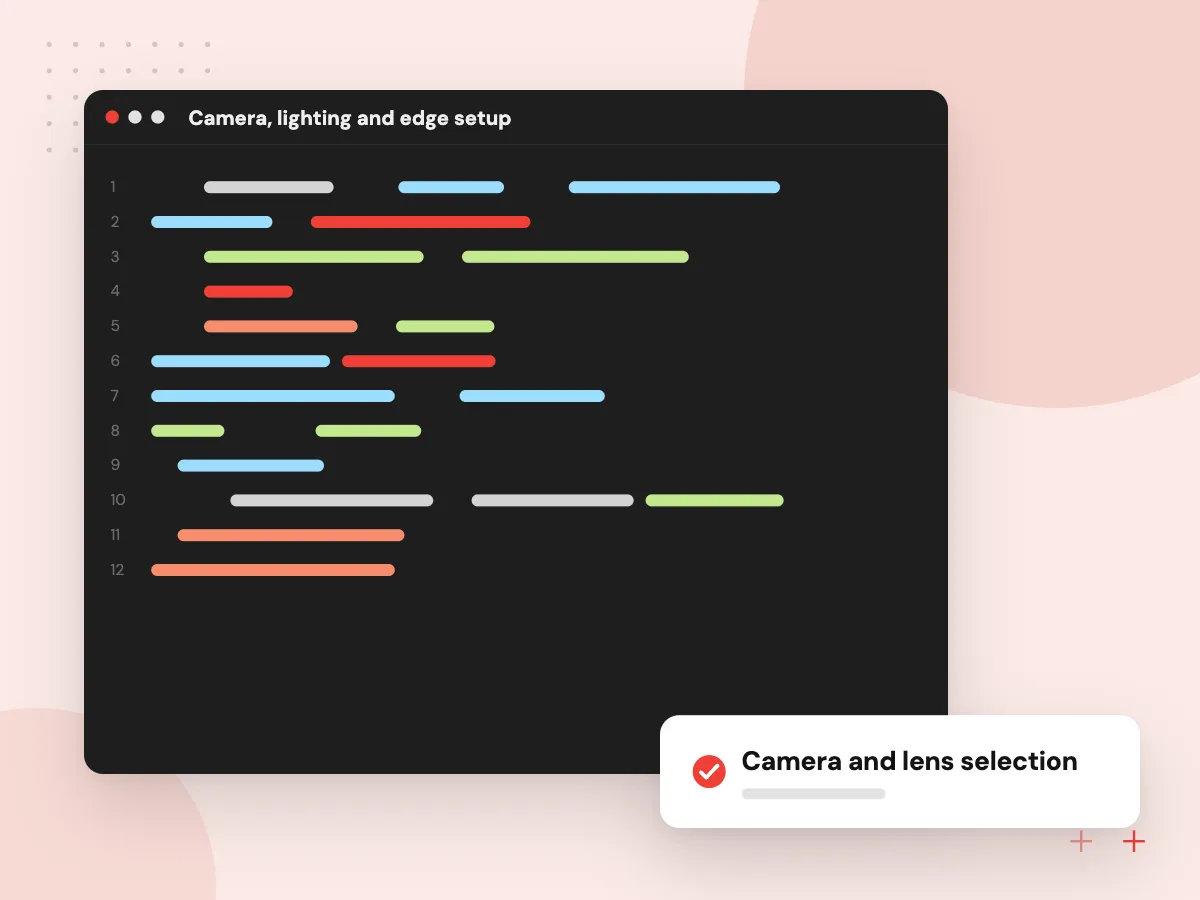
Camera, lighting and edge setup
Inspection accuracy starts before the model. We help choose cameras, lenses and lighting for the defect you need to see, trigger image capture from the line and run the model on an edge computer beside it, so the reject signal arrives before the part passes the diverter.
What we do
- Camera and lens selection
- Lighting trials on real defects
- Line-triggered image capture
- Edge computer for the model
- Reject signal to your PLC
Defect library and human review
Defects are rare, so we build the training set with your inspectors: collecting examples, agreeing names and limits, and labeling images together. Any part the model cannot call with confidence is set aside for an inspector, whose decision becomes a fresh training example.
What we do
- Defect catalog with acceptance limits
- Labeling sessions with inspectors
- Uncertain parts routed to people
- Golden sample checks each shift
- Retraining from reviewed images
How we approach a project
Defect detection AI does not decide what happens to a part. Scrap, rework or hold stays with quality staff, and in regulated plants the records follow your quality system; medical device makers, for instance, now work under the FDA’s Quality Management System Regulation. When defects trace back to a worn tool or drifting machine, we link inspection results to predictive maintenance.
Plants on our manufacturing and distribution page are the usual fit. Send a few photos of good and bad parts, then talk them through with us in a 30-minute conversation set up via our contact page.
How we work
- Lighting and optics before algorithms
- Uncertain parts go to people
- An image behind every decision
Our Process
-

Define the defects
With your quality lead we list each defect type, its acceptance limit and sample parts, so everyone judges the same way.
-

Test lighting and cameras
On real good and bad parts we try camera angles and lighting until the defect shows clearly in the image.
-

Shadow the inspectors
The system runs beside manual inspection on the same parts, and we compare missed defects and false rejects.
-

Connect and go live
Reject signals reach the PLC, results go to your MES or quality system, and golden samples are checked each shift.
Why Aranv for visual inspection
Optics solved before modeling
We prove that the defect shows clearly in an image under your lighting before writing model code, because no model can find what the camera cannot see.
Inspectors shape the model
Your quality staff define the defects and label examples with us, so the system enforces your acceptance limits, not a generic idea of a flaw.
Measured against people
The shadow phase compares escapes and false rejects with manual inspection on the same parts, and you decide on go-live from those numbers.
Records your auditors can read
Every pass, reject and review is stored with its image, time and model version, ready to attach to a nonconformance or a customer complaint.
Planning AI Visual Quality Inspection?
Book a 30-minute conversation with the team that would build it.
AI visual inspection FAQs
-
How many defect images do we need for AI visual inspection?
Fewer than you might expect for a first version and more than you would like for a reliable one. Models trained mostly on good parts can start with a modest set of defect examples for testing. Naming each defect type needs examples of each, gathered over weeks of production.
-
Can it keep up with our line speed?
Usually, but we measure it rather than assume it. Cycle time depends on image size, model size and the edge hardware. We test on your line’s real takt time during the pilot and choose hardware that leaves headroom for the reject signal.
-
What happens when the model is not sure?
The unit is set aside for a human inspector instead of being passed or rejected automatically. The inspector’s call is saved with the image, and those reviewed cases are the most useful material for the next round of training.
-
How do you measure whether quality control computer vision is working?
We track escapes, meaning defects the system passed, and false rejects, meaning good parts it stopped, against manual inspection on the same parts. Golden samples with known defects run through each shift to confirm the camera, lighting and model still behave as tested.
-
Can it connect to our PLC and MES?
Yes. Reject signals go to the line through digital outputs or industrial protocols such as OPC UA or Modbus, and results are written to your MES, quality system or a database by API. We agree the integration with your controls engineer before installation.

Let’s talk about your next step
Contact Aranv to discuss your workflow, current tools, and goals. Meet with our team or send an inquiry.
Book a meeting with our team
Choose an available date and time for a 30-minute conversation about your project.
Tell us about your project
Share a few details so we can discuss a useful next step.
Prefer email? sales@aranv.com